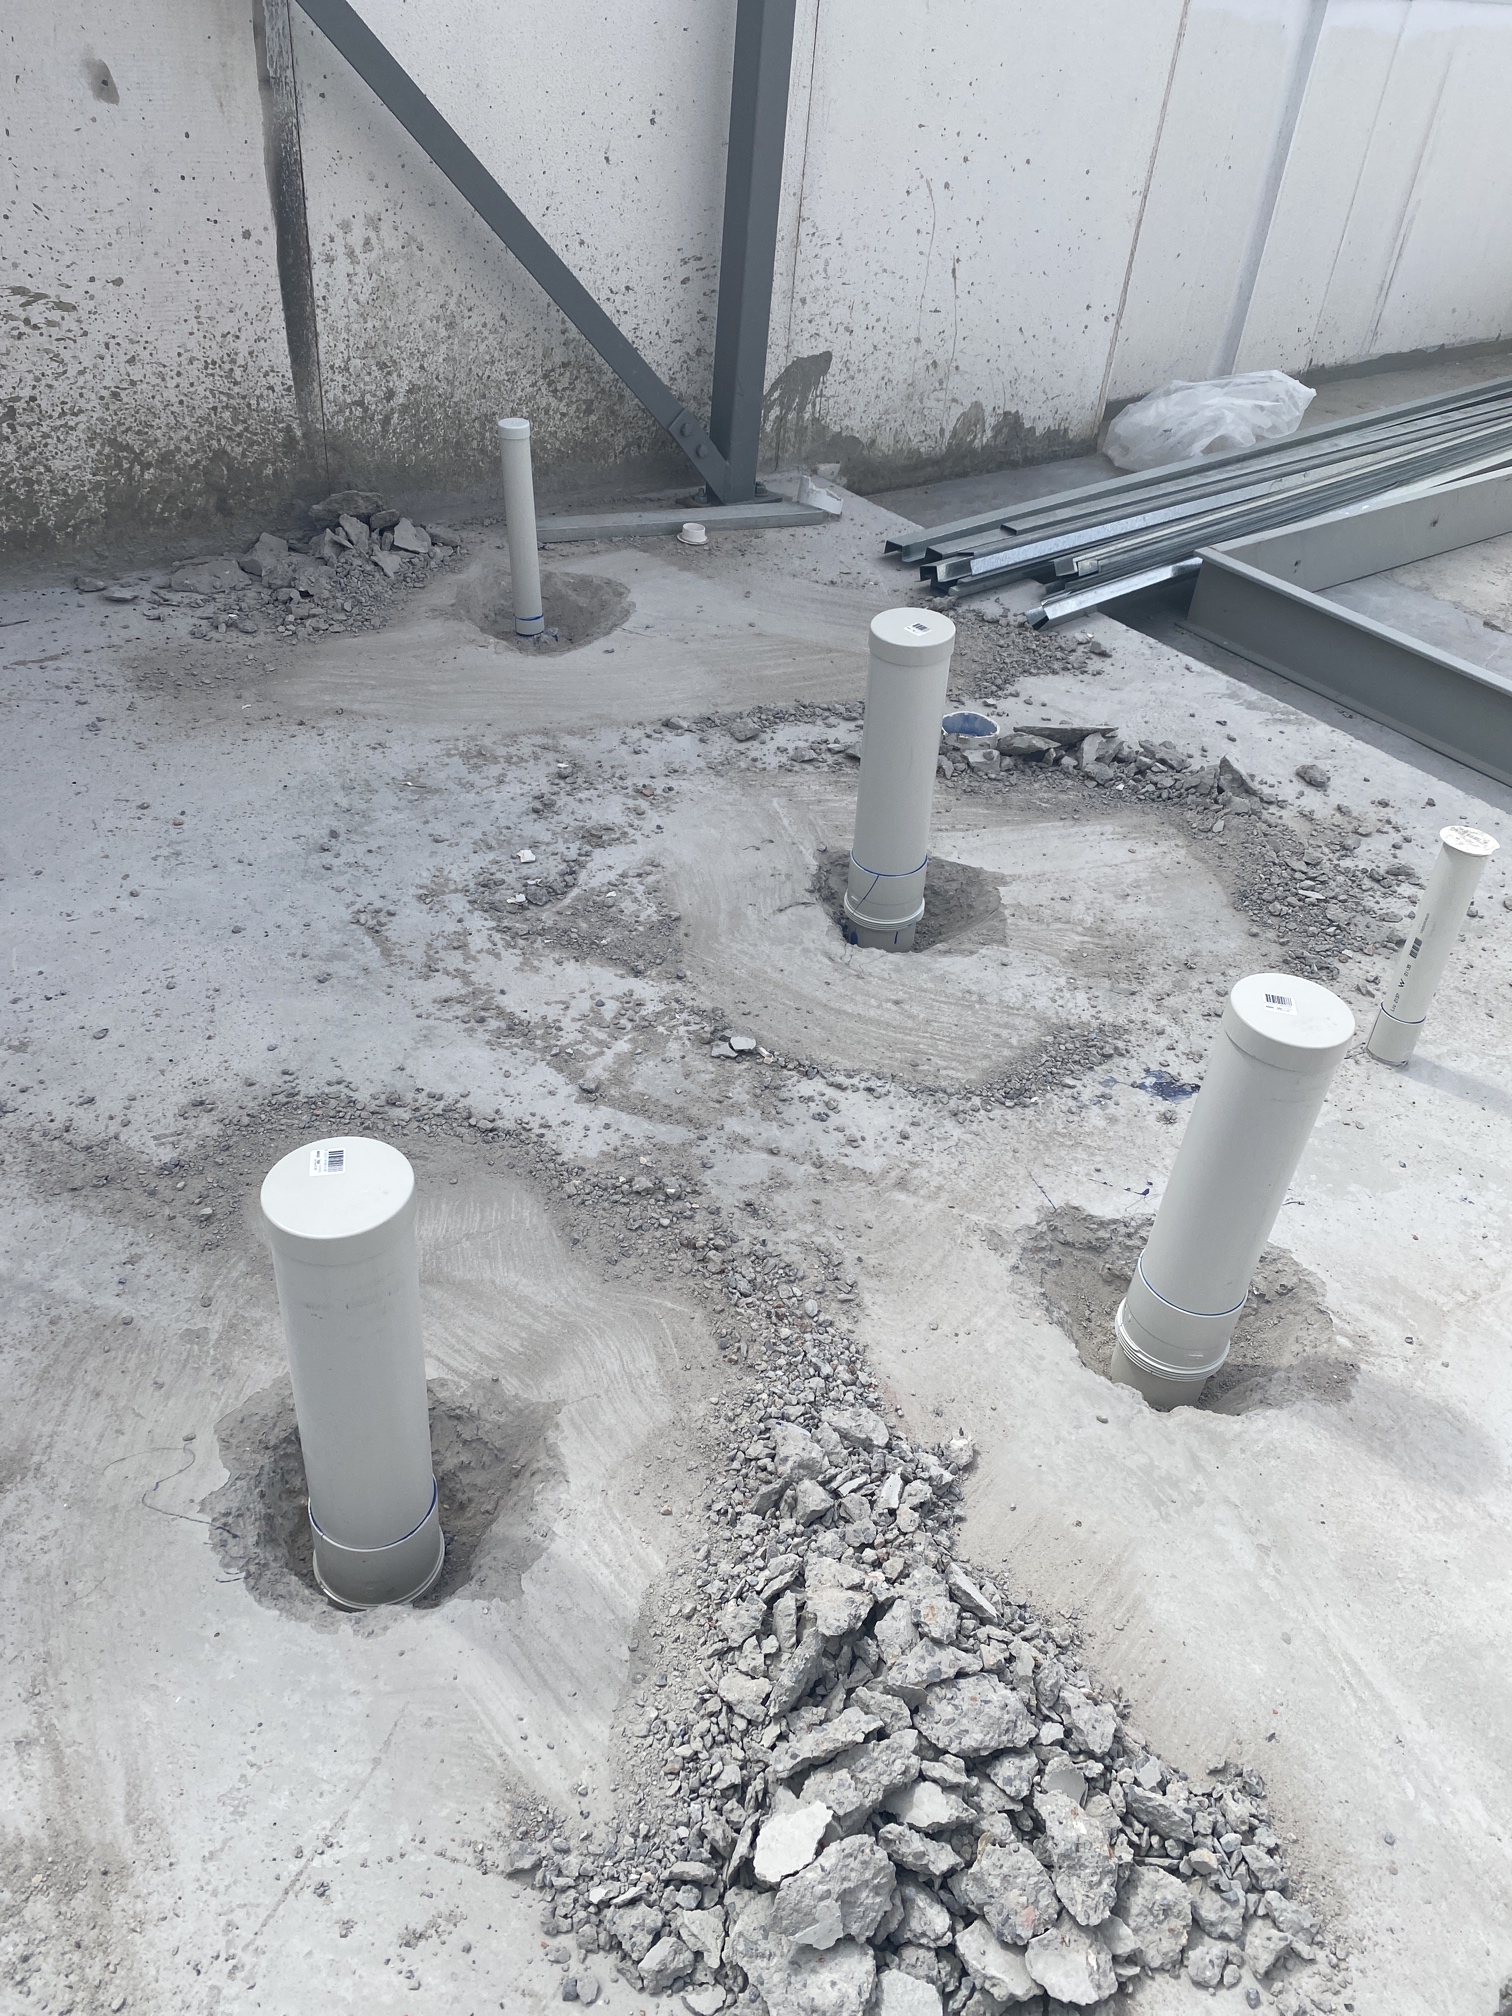
Thinking about sprucing up your home with new flooring? Before installing those fancy new floors, it’s very important to ensure your floor is prepped correctly. Effective floor preparation ensures a fruitful and dependable installation. Here are a few top tips to assist you with preparing your floors for their makeover:
What is Floor Preparation?
Floor preparation involves getting your current floor ready for new flooring. It ensures your new flooring looks good, lays flat, sticks well, and lasts long. Sometimes, you must remove the old flooring, which can cause problems.
But some new flooring can be put over the old one to fix issues. Always check with the flooring maker and do what they say. You can’t ignore getting your floor ready, right? Even without old glues, every surface must be clean and not too wet for the type of new flooring you’re putting down.
Tips for correct floor preparation
1. Clear the Space
To begin an effective tile installation, ensure the surface is perfect from dust, oil, and grease. Check for external particles, whether it’s a concrete slab, floor screed, plaster, dry wallboard, or any surface. Also, utilize a plumb to look at vertical and horizontal levels before beginning the installation.
2. Review the Subfloor
Investigate the subfloor to check for any indications of harm, like breaks or unevenness. Resolving these issues before installation can prevent and guarantee a smooth, level surface for your new flooring.
3. Clean Completely
Using a vacuum cleaner or brush, eliminate any trash or soil from the subfloor. A spotless surface permits adhesives to bond appropriately and keeps imperfections from influencing the installation.
4. Address Moisture Concerns
Moisture can wreak havoc on floors, causing warping and mold development. Test the moisture levels in the subfloor and take appropriate measures to mitigate any excess dampness, like utilizing a moisture barrier or sealant.
5. Smooth Out Imperfections
Fill in any cracks or holes in the subfloor utilizing a suitable filler material. Sand down high spots and level out low regions to make a flat surface.
6. Think about Underlayment
Choose the proper padding for your floor based on the type of flooring you’re putting in. This extra layer can provide more comfort and protect against moisture. Just make sure it matches your flooring and suits your space’s needs.
7. Keep Manufacturer Rules
Various kinds of flooring require different planning techniques. Always allude to the manufacturer’s directions and rules for appropriate installation strategies and suggested preparation systems.
8. Allow for Expansion Gaps
Leave adequate expansion gaps around the room’s border and transitions between various flooring materials. This permits the flooring to expand and contract with changes in temperature and humidity. This helps to prevent buckling and harm.
9. Plan the Layout
Before installing the flooring, plan the design to guarantee an outwardly satisfying outcome. Think about variables like the direction of the planks or tiles and changes between rooms.
10. Measure Two times, Cut Once
Double-check your measurements to guarantee accuracy before making any cuts or beginning the installation cycle. Cutting corners or hurrying through this step can prompt expensive errors and wasted materials. Take as much time as necessary and measure two times to stay away from issues later on.
Last Contemplations
You can follow these top tips for proper floor preparation and set up for an effective flooring installation that looks perfect and stands the test of time. Try not to ignore the significance of appropriate preparation – it’s the way to accomplishing professional outcomes and enjoying your new floors.
So, before you plunge into your flooring task, find an opportunity to set up your floor appropriately. Your efforts will be justified eventually. It will guarantee a delightful and enduring outcome that you can appreciate!


